Place fixings on brackets
Shows step-by-step how to place brackets and mount components on these brackets.
Before you begin
You would like to place pipes or ducts with fixings on brackets to walls.
Requirement:
The components to be fixed and the components where the fixing is to be placed are available.
Navigate to:
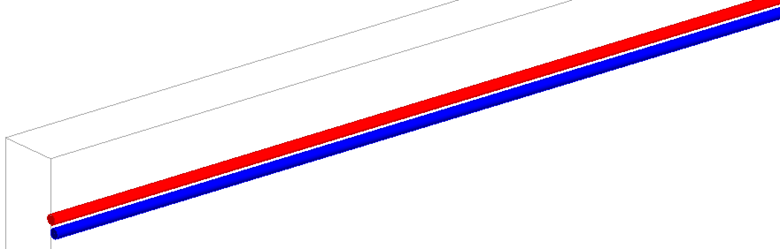
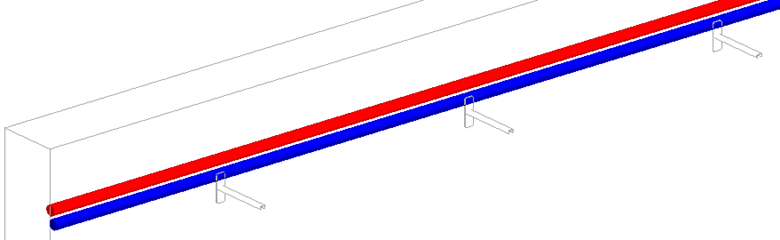
Check the datum level and the distance between the pipes and the wall to ensure that the brackets are placed at the correct height and that the length of the brackets is sufficient. A make sure that the distance between the components to be fixed and the brackets is large enough for fixing.
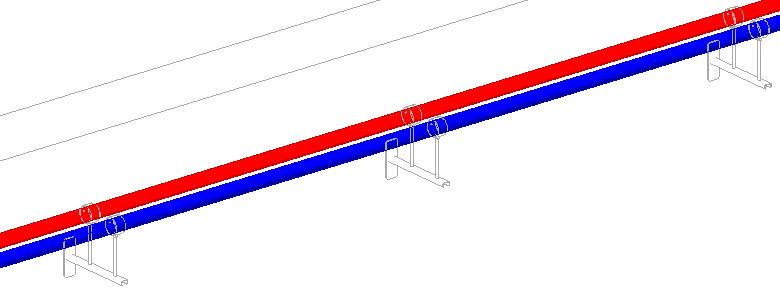
Initial situation:
Procedure
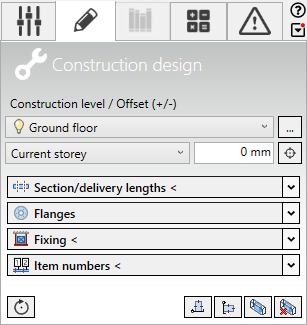
- Open the section Fixing.
- Select the Product Bracket, define Model and Type and activate the desired Placement mode.
- Click Fixing<.
- Follow the displayed instructions.Note:
If you place the brackets in a floor plan or top view, the height is defined via the floor selection and the specification of the offset.
The brackets are placed at the wall.
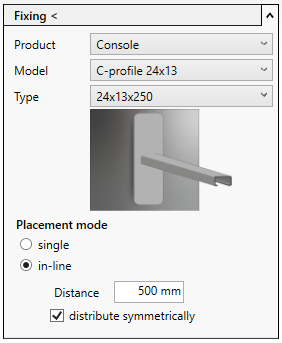
- Select the desired fixing and activate the Placement mode on bracket/insertion rail.
- Click Fixing<.
- Follow the displayed instructions.
Results
The components are mounted on the brackets.