Carrying Out Quick Dimensioning
Shows step-by-step how to dimension multiple rooms in a single step with a panel heating/cooling system.
Before you begin
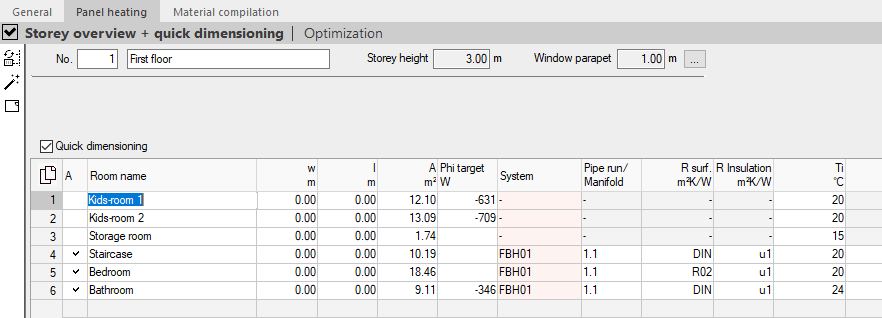
Using Quick dimensioning, you can dimension all rooms on a storey or in an apartment automatically, with a panel heating/cooling system. The circuit zones are dimensioned according to the determined heating or cooling load values for the rooms.
Requirement:
The panel heating/cooling system to be designed is already in the System preselection.
Navigate to:
Note that, for correct dimensioning of panel heating system, a package acceptance of the heating or cooling load is usually unsuitable. Fixed values can only be accepted for a calculation in exceptional cases. Instead, you should perform a comprehensive calculation of the heating or cooling load in accordance with the corresponding standard.
Applies to: Panel heating, Panel cooling
Procedure
- Activate the Quick dimensioning function.
The following Note appears:
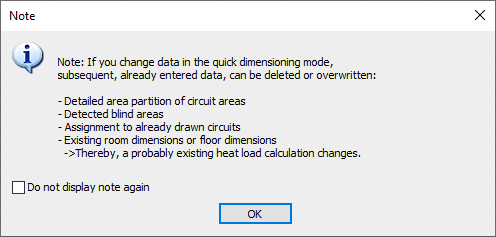
- Read the Note and confirm with OK. Tip:
If approximate border zones are to be taken into account in the quick dimensioning, enter the area of the border zone in the field Rz m². The area is deducted automatically from the room area and the difference identified as an occupied zone.
Quick dimensioning is activated.
- Click the
 Dimensioning button.
 If you have multiple systems in System preselection, the Select a system element appears. If you have only one system in System preselection, the rooms are automatically designed with this system.
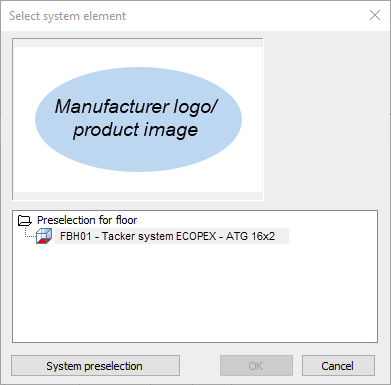
- Select the desired system element and confirm with OK.
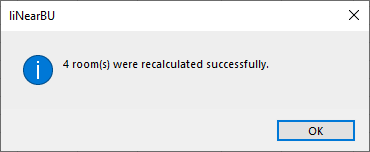
Results
You have designed all rooms on the storey with the selected system.
By removing the checkmark in column A, you can remove a room retrospectively from the design.
What to do next
-
Using the entry aids in the individual table columns, you can now make adjustments.
-
You can check and amend the detailed design of a room in the room view.