Creating a View
Shows step-by-step how to create a view for a particular building part, storey and discipline.
Before you begin
Navigate to:
Procedure
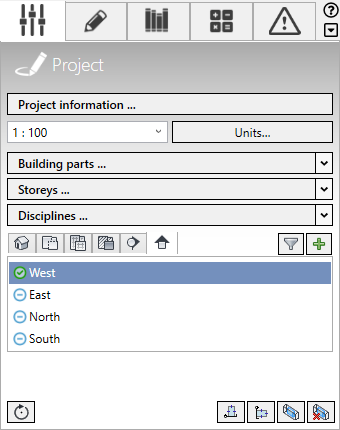
- Select a building part, a storey and a discipline to be displayed in the new view.
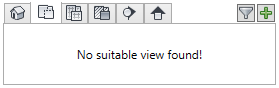
- In the Suitable views area, select the desired view type using the tabs.
If the project does not yet contain a view of the selected type, the tab is empty.
- Click
 Create view.
 The Create new views dialog opens.

- The Standard template contains suitable default settings and does not usually need to be changed. If you have already customized a view to your needs and want to use the same settings, select this view under Template.
- Activate under Storey all storey for which you would like to create a view.
- Select a model development level for the view as LoG.
- If you want to use this view in sheets and want to show or hide sheet views in the list of all views, activate the option To be used in sheets.
- If you want to mark this view as your own view (for example, because you want to hide other users' views), activate the For the current user option.
- Click Create view.
Results
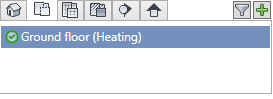
The view is created and used as the current view. It is marked with the  Well suited symbol. If you switch to the Construction tab you will find all construction functions for the selected discipline there.