Constructing Pipes
Shows step-by-step how to construct pipes.
Before you begin
You want to construct pipes that are inserted into the model as straight pipes and fittings.
Requirement:
You have selected the appropriate discipline so that the desired system classes are available.
Navigate to:
Applies to: Heating, potable water, waste water, ventilation, panel heating/cooling, cooling, gas, fire protection.
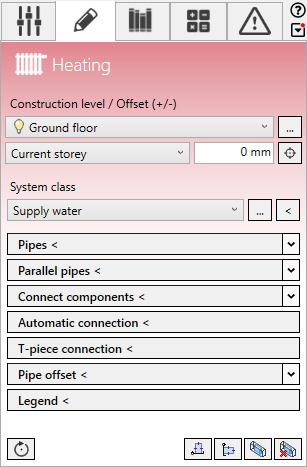
Procedure
- Select the reference level in the Construction level/ Offset (+/-) section.
- Select the datum level. If the datum level conforms to the reference level, select Current storey.
- Enter an offset to the datum level.
If the component is to be located below the datum level, enter a negative offset.
- Select the System class.
- Open the Pipes section.
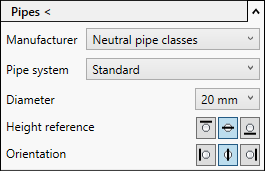
- Select the manufacturer and the pipe system.
- Select the diameter.
- Select the height reference of the pipes: top, center, bottom.
- Select the orientation of the pipes: left edge, center, right edge.
- Click pipes <.
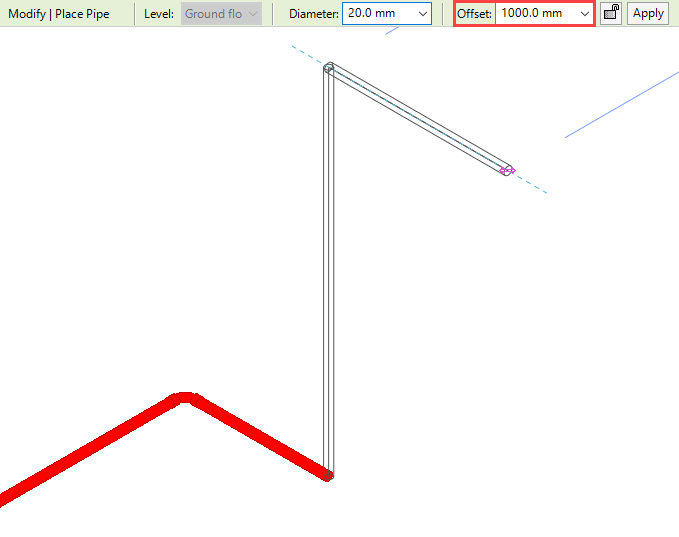
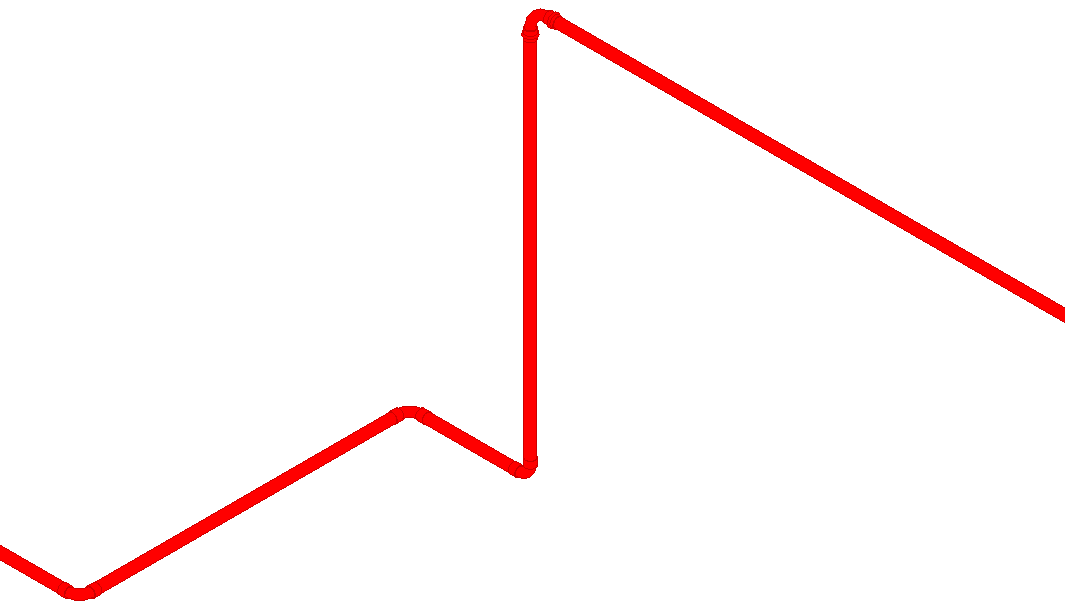
- Construct the course of the pipes.
If you want to create vertical ducts during construction, enter the desired height in the Offset field in the Revit option bar.
Results
The pipes are constructed with the selected system class and material.
What to do next
This pipe run can be extended to a pipeline corridor with the Parallel pipes < function.