Performing Collision Check
Shows step-by-step how to perform a collision check.
Before you begin
You want to check your project for collisions.
Navigate to:
Procedure
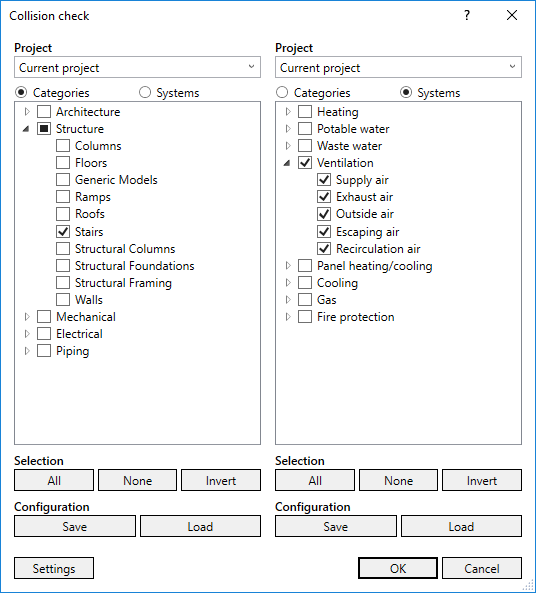
- From the Project drop-down list, select the projects that you want to check for collisions.
- Activate all categories or systems on the left and right side that are to be checked for collisions. Note:
Also note the All, None, and Invert buttons in the Selection section.
- If you want to save the current configuration for later collision checks, click Save.
- If you want to use an existing configuration, click Load.
- If you would like to specify additional settings, such as taking minimum distances into account or ignoring void proposals, click Settings.
The Collisions check settings dialog opens.
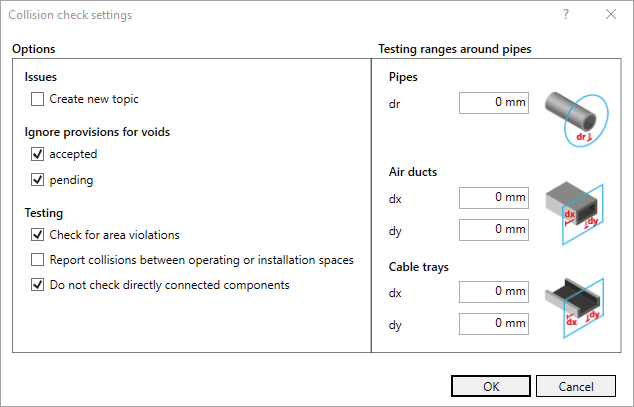
- Make the desired changes and click OK.
- Perform the collision check by clicking OK.
Results
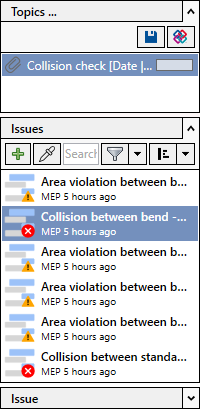
If collisions or area violations are found, a corresponding message is displayed and the results are displayed in the Issues and tasks tab.