Perform Revit MEP Import
Shows step-by-step how to import a d3d file exported to Revit into AutoCAD with LINEAR Design 3D Pipe&Power, thus inserting the pipe and/or duct networks constructed in Revit into your drawing.
Before you begin
You want to import pipe or duct networks constructed in Revit and exported to a d3d file into AutoCAD.
Requirements:
- The pipe or duct network to be imported has been exported to a d3d file in Revit.
- You have installed the Design 3D Pipe&Power module.
Navigate to:
Note:
Due to the different type of modeling in Revit and AutoCAD, certain situations may not be imported without errors and manual rework might be required.
or

Procedure
- Click on Revit MEP Import ....
The Open dialog opens.
- Select the d3d file to import and click Open. The Import from Revit - Material dialog opens.
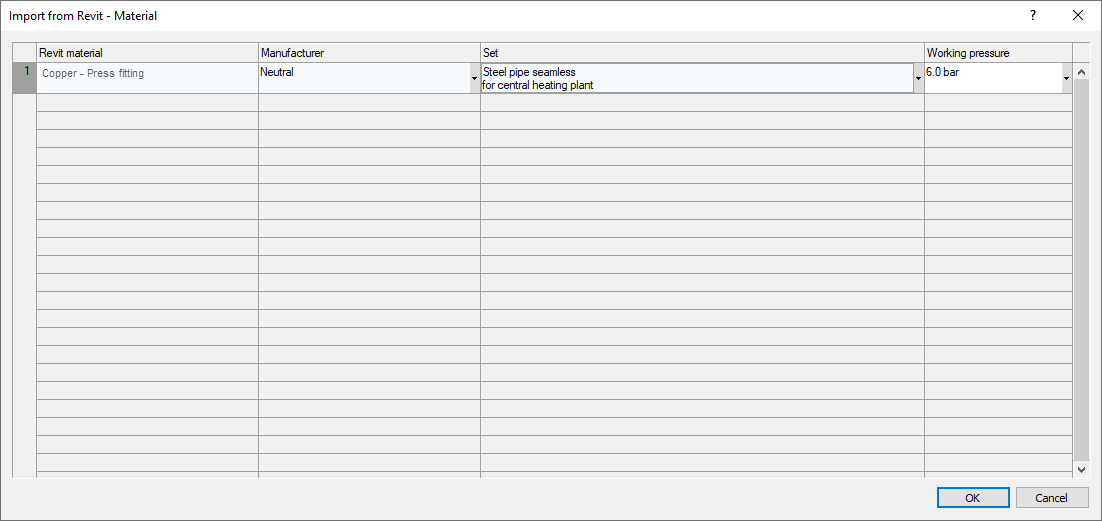
- Specify a Manufacturer, a Set and, if necessary, the Operating pressure for all Revit materials and click OK. The pipe or duct network is generated.
Results
The pipe or duct networks have been generated as far as feasible. Messages about errors and deviations can be found in the Reports.
What to do next
If necessary, perform the following steps to obtain complete pipe or duct networks that can be calculated.
- Work through the reports that occurred during the process.
- Fix component connections.
- Add components that were not included during generation of the network because they were not recognized as MEP components in Revit.
- Connect components that were not correctly connected during network generation to the pipes or ducts.