Details on Roof Drain (Open drainage)
Information about the dialog Roof drain (Open drainage).
The Roof drain dialog allows you to design and draw roof drains for roof areas defined with the Roof assistant and to insert detailed sketches of these drains into your drawing. Depending on which assistant you are in or which drawing type you have set, the roof drains are drawn in floor plan, scheme or 3D.
You are here:
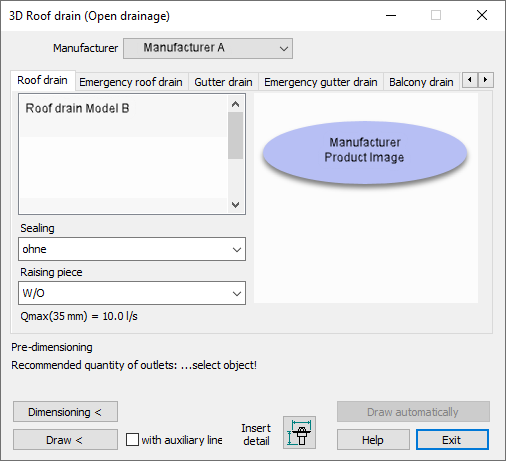
Manufacturer
Drop-down list for selecting the manufacturer.
Drain type tabs
Depending on the manufacturer, the drain types contained in the data set are divided into different tabs. Select the desired drain type from the corresponding tabs.
Sealing/Raising piece
If available from the manufacturer, you can select appropriate elements for the component from the drop-down lists.
Dimensioning <
Click on the button Dimensioning < and select the roof area drawn with the Roof assistant. Then the recommended number of drain outlets is output and (if possible) the button Draw automatically is is activated.
Draw <
Draw the selected drain outlet by determining the insertion point in the drawing area.
with auxiliary line
Select this option if you would like to draw the drain outlet with auxiliary line. After activating the drawing function, first define the position the auxiliary line in the drawing area and then specify the number of drains to be positioned on the auxiliary line.
Draw automatically
Have the pre-dimensioned drains automatically drawn into the roof area.
Insert detail
Add a detailed drawing of the selected drain outlets in the drawing. Set the insertion point (base point of the sketch is the lower left corner) and the rotation in your drawing.
This command is not available with all versions of the program and depends on the installed and licensed manufacturer product datasets.