-
Click
 .
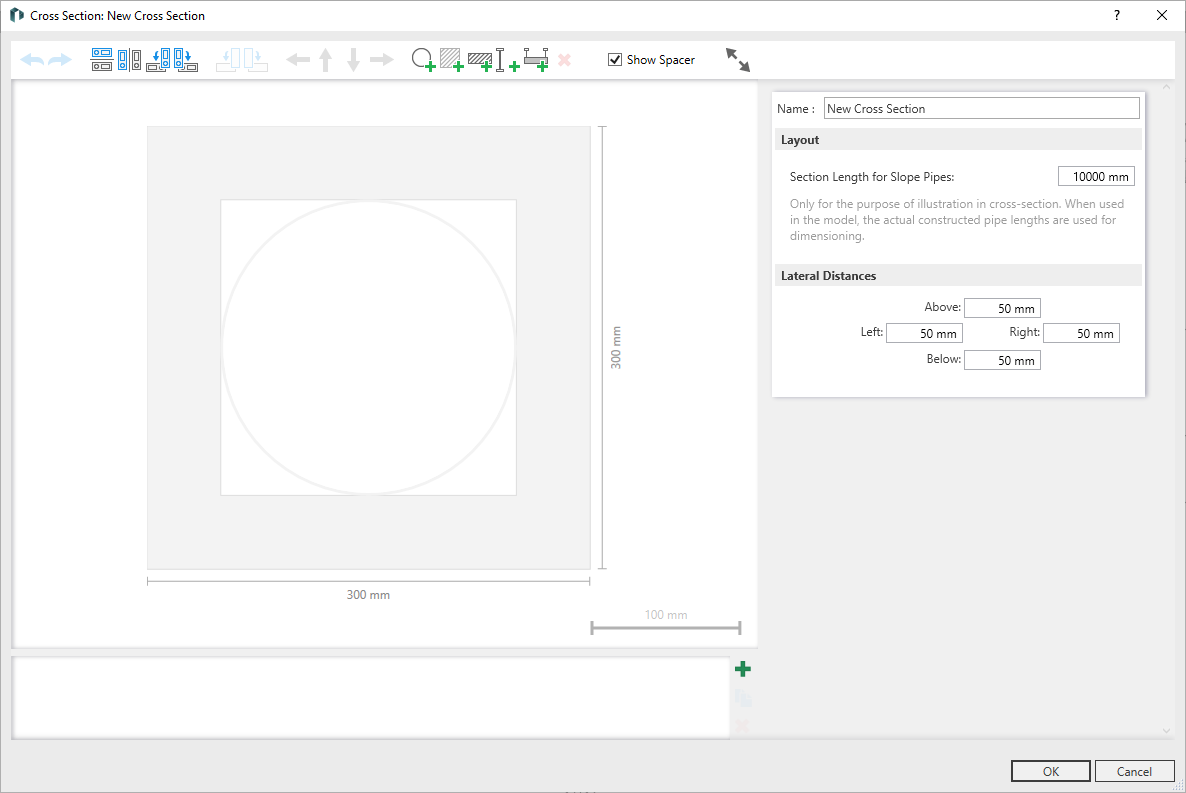
.The Cross-Section Dialogue: New Cross-Section is opened.
-
Enter the name of the cross-section.
-
At the bottom of the dialog, click
to add the desired number of pipes to the palette.If you already assigned pipes to a pipe route in the LINEAR Properties dialog and you call the Cross-Section dialog from the properties, the assigned pipes are displayed here.
-
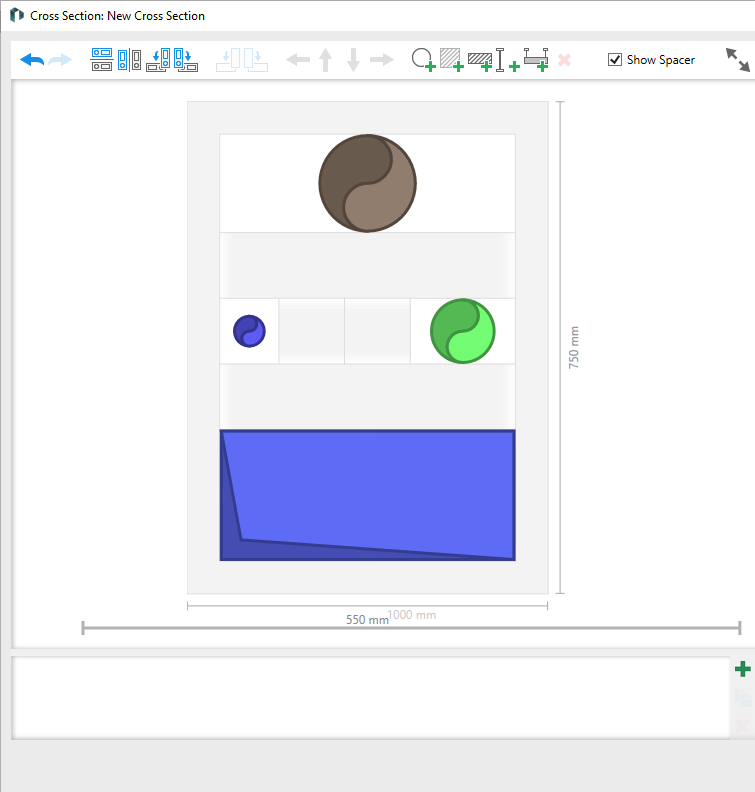
Click the individual pipes in the palette and configure them in the Pipe area.
-
Drag and drop the individual pipes into the cross section and to the desired position.
-
Add reserved areas to the cross section for cross bonding of pipes by clicking
 .
. -
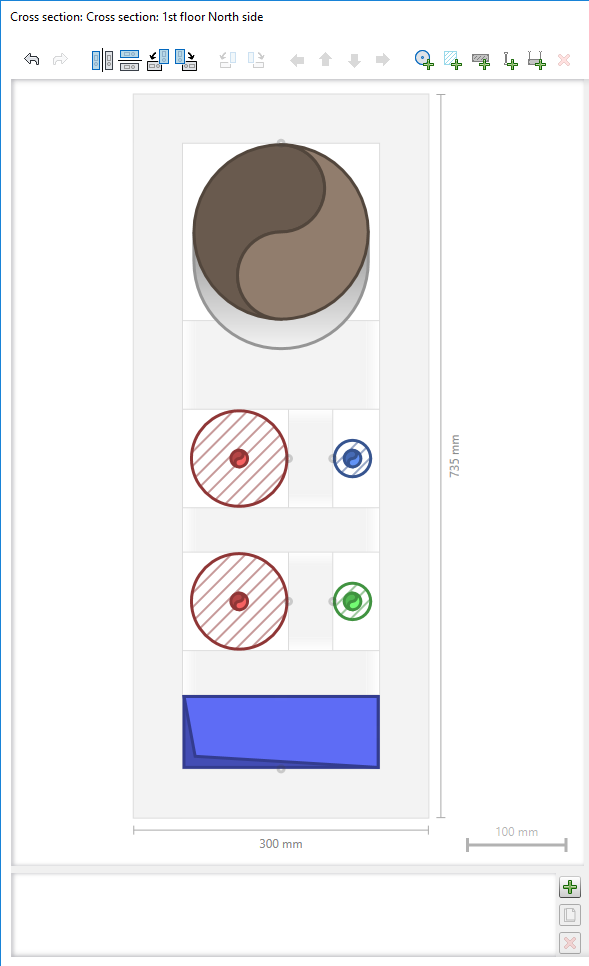
Add placeholders for mounting profiles and threads to the cross-section by clicking
 and and/or placeholders for complete mounting constructions by clicking
  and configure the mounting elements as required.
 -
Configure a lateral distance, distance holder and positioning for each pipe.
-
Click OK.
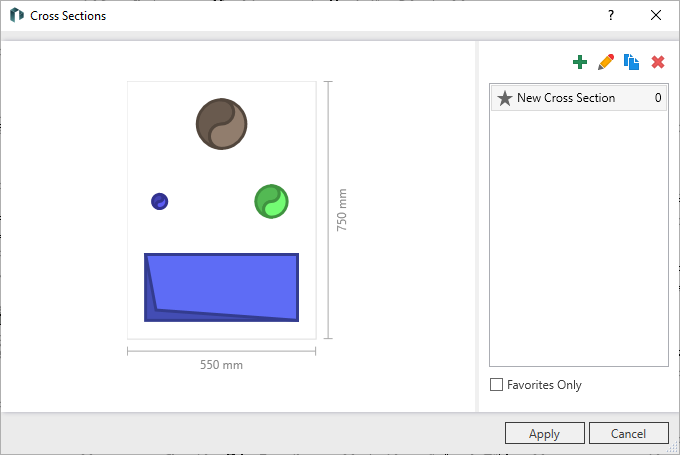
The new pipe route cross-section is defined with all pipes, pipe dimensions and a cross-section layout and is added to the list of cross-sections. The new cross section is automatically saved as a favorite.
-
Click Apply.
The new-cross section has been created and can either be used directly when creating new pipe routes or can be assigned to existing pipe routes.