Inserting Windows and Doors
Shows step by step how to construct windows and doors based on a 2D drawing.
Before you begin
The architecture is available as a 2D drawing. You want to insert windows and doors into 3D walls that have already been constructed.
Requirements:
-
You have linked a 2D drawing to your model.
-
Your current view is the floor plan view, which already contains 3D walls for the windows and doors to be constructed.
Navigate to:
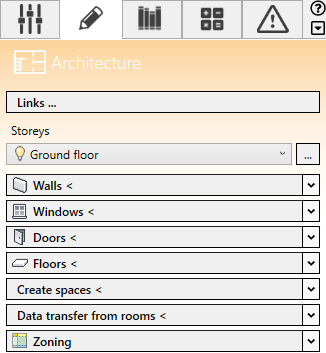
Procedure
- Open the Windows or Doors section.
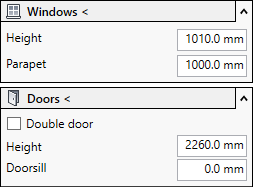
- If you want to construct a double door, activate the Double door check box.
- Enter the vertical dimensions of the windows or doors.
- Click Windows < or Doors < and follow the displayed instructions. Tip:
Inaccurately constructed windows or doors can be corrected with the Revit functions of the Modify tab in the Revit Ribbon.
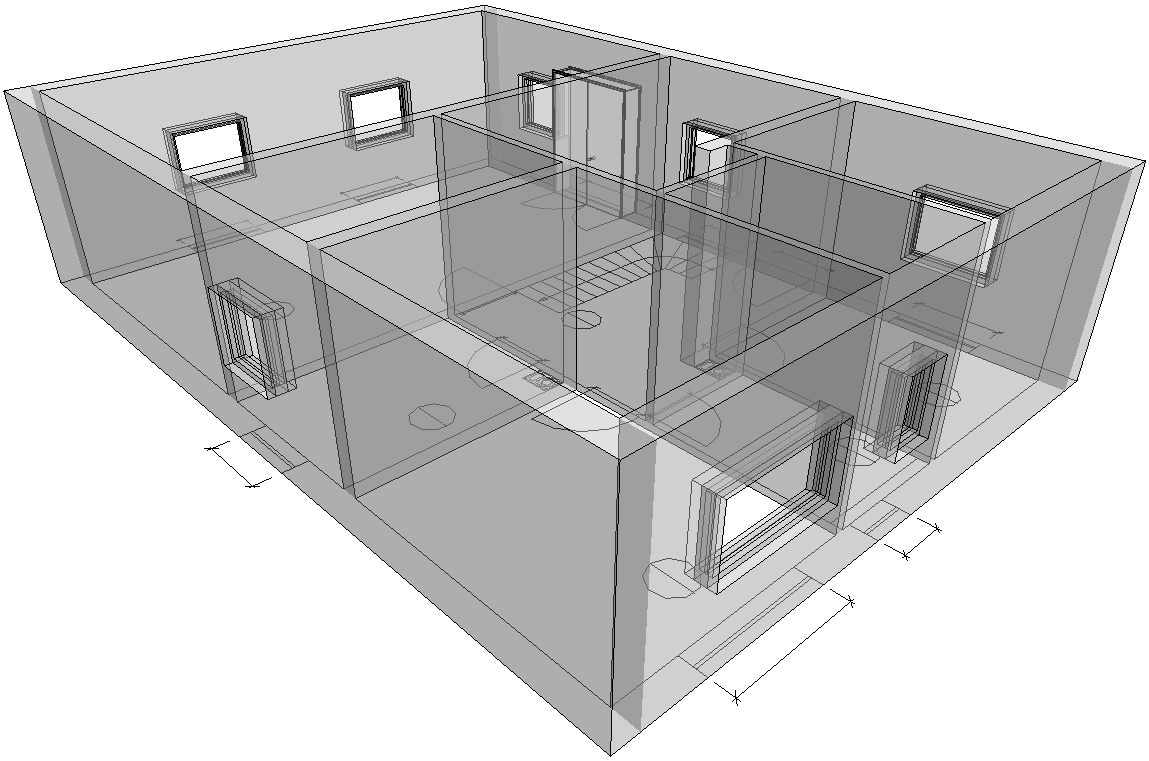
Results
Windows and doors are placed in the walls.