Labeling Components with Calculation Data
Shows step-by-step how to label components with the calculation and component data after calculating your pipe or duct network.
Before you begin
After calculating your pipe or duct network, you would like to label the components with the calculation and component data.
Requirement:
You have successfully performed the Pipe and Duct Network Calculation.
Navigate to:
Procedure
- Open the Labeling dialog via the Labeling ... button. Note: Before you label your components, you can customize the labelers for the different network objects by selecting the “...” button in the “Configure label” section.
- In the Labeling options section, select the settings for the labeling.
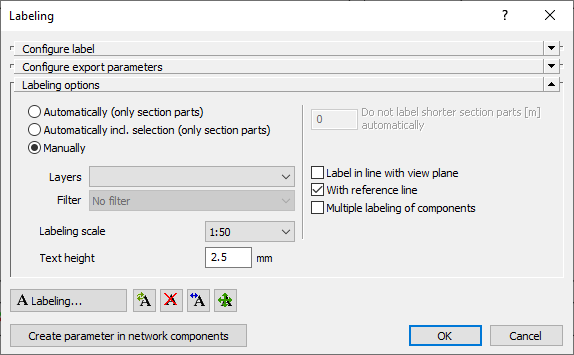
- Start the Labeling process by clicking Labeling..... Note: If you have selected the Manually option, the dialog closes and you can set the labelers manually by clicking the components. If you have selected the Automatically (only section parts) option, the labeling of all components will be performed automatically with the labels that have been set. If you select the option Automatically incl. selection (only section parts), the dialog closes and you have to select the section(s) for labeling and confirm the selection with Enter.
Results
You have placed the labelers with the data from the Pipe and Duct Network Calculation on the components.