Naming Pipe Runs
Shows step-by-step how to create pipe run and storey names and assign them to one or more section parts.
Before you begin
Use this function to assign pipe run and storey names to the section parts in order to be able to locate the section parts better and to improve orientation. The pipe run and storey names will be displayed in all dialogs and in the printouts. In the waste water discipline, there is an additional category Rooms for further differentiation.
Requirements:
-
The pipe network is closed an can be calculated.
-
The pipe network is detected.
Navigate to:
Applies to: Waste Water.
Procedure
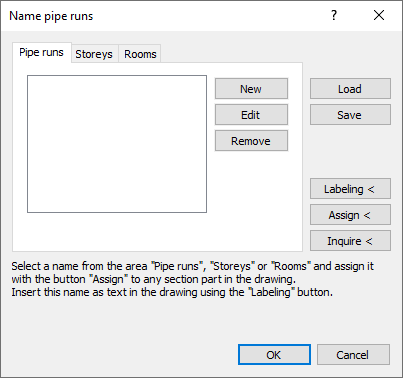
- Via the tabs, select whether you want to enter a pipe run or a storey name.
- Click New....
The editing field is opened.
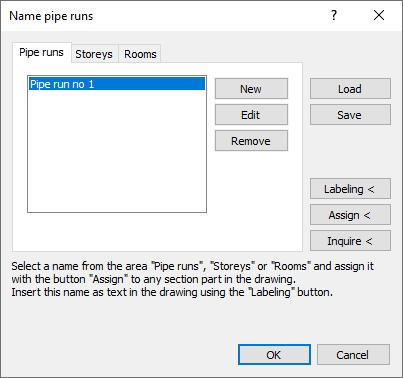
- Enter a new name and confirm with Enter.
The position is shown in the preview.
- If necessary, repeat the steps 1 to 3, in order to create more names.
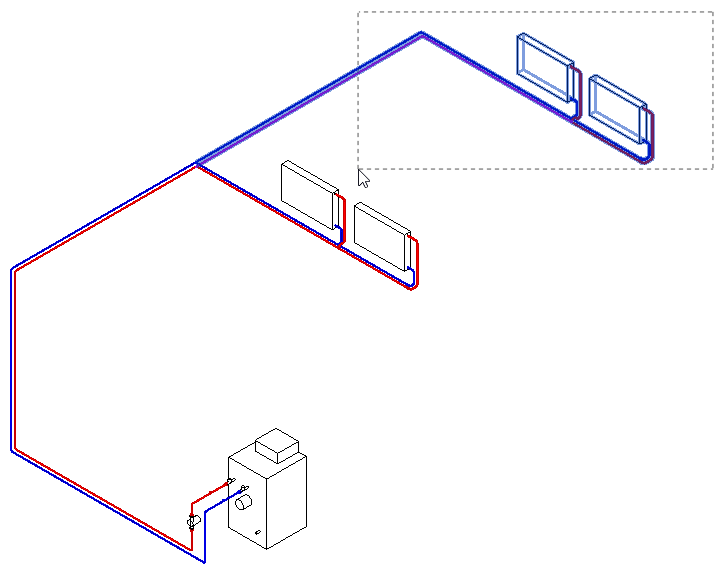
- Mark a name in the selection window and click Assign <.
- Select one or more section parts, which belong to the selected pipe run or storey a and confirm with Enter. Note:
When assigning, please note that properties changes can only be carried out behind T-pieces and behind built-in parts with dimension changes.
- Repeat the steps 5 to 6, in order to assign further names.
- Close the dialog with OK.
Results
The names are assigned to the section parts and will be displayed in the calculation dialog and in the printouts.
If you want to inquire the section part names afterwards, have the pipe network recalculated once in order to save the name assignment at the section parts.