Adjusting Labels for 3D Objects
Shows step-by-step how to customize the labels for 3D objects.
Before you begin
You would like to change the label file for 3D objects to display the component data at the component according to your ideas. To do this, you have to adjust the control texts contained in the label file.
Requirements:
You know the label file and the label variable you would like to use in the label block.
Note: The available labeling variables for components can be found on the tabs of the Component data dialog. You get this dialog via and the selection of the desired component in the drawing.
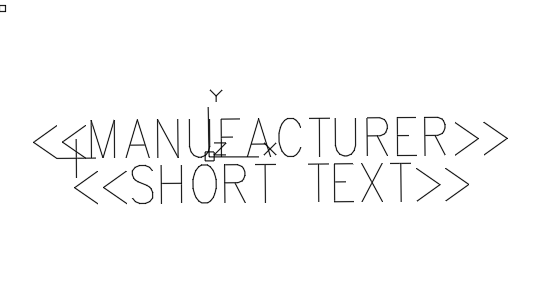
Procedure
- Open the label file (*.dwg) you would like to customize. You will find the label files in the following directory: C:\Program Files (x86)\LINEAR Software\Solutions xx\CAD\ 3D Trade\User-standards\Labels.
 Note:
Note:Make a backup copy before customizing a label file.
- Double-click a control text to edit the text.
- For example, change a label variable. Note: To extend a label file, you can also copy and paste existing control texts and then edit them.

- Optional: You can output the unit (for example, mm or DN) of the variable value by using a plus sign + before or after the variable. You can append the plus sign directly before or after the variable, or use a space.
- Save the label file with a changed file name. Note: The supplied label files are read-only.
Results
The label file has been customized and is available under the user-defined file name under Dimensioning/Label in the 3D Air Duct Labels or 3D Piping Labels section.