About Construction Level and Offset
Explains the concept of the construction level and the relationship between reference level, datum level and offset.
With the construction level you define the height at which components to be constructed are inserted. This applies to pipes, ducts and components from the library tab. The construction level is used in floor plan views, 3D views and area plans.
To determine the construction level, select a reference level and a datum level and enter an offset. The following applies: construction level = reference level + offset.
The reference level is the level to which the component to be constructed is linked. All storeys contained in your Revit model are available for selection.
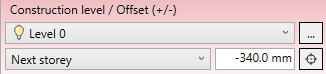
The datum level together with the offset determines the height of the component to be constructed. The datum level depends on the selected reference level. The current reference level (Current storey), the next higher storey level and all work levels that may be located in between are available for selection.
The offset is added to the datum level. If the component is to be located below the datum level, enter a negative offset.
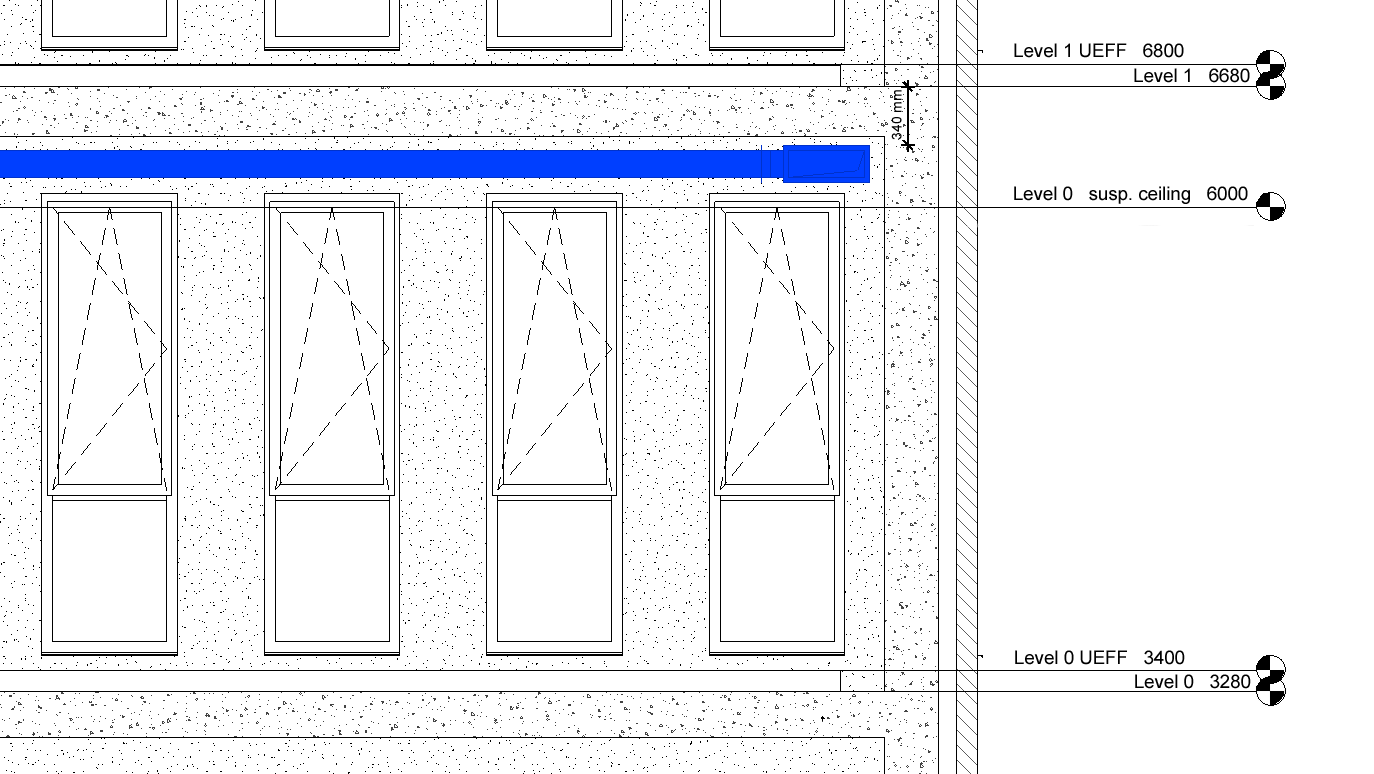
In this way you can, for example, construct an air duct on level 0, but below the storey ceiling of level 1. In the example shown below, the work level Next storey is selected as the datum level and an offset downwards is entered.