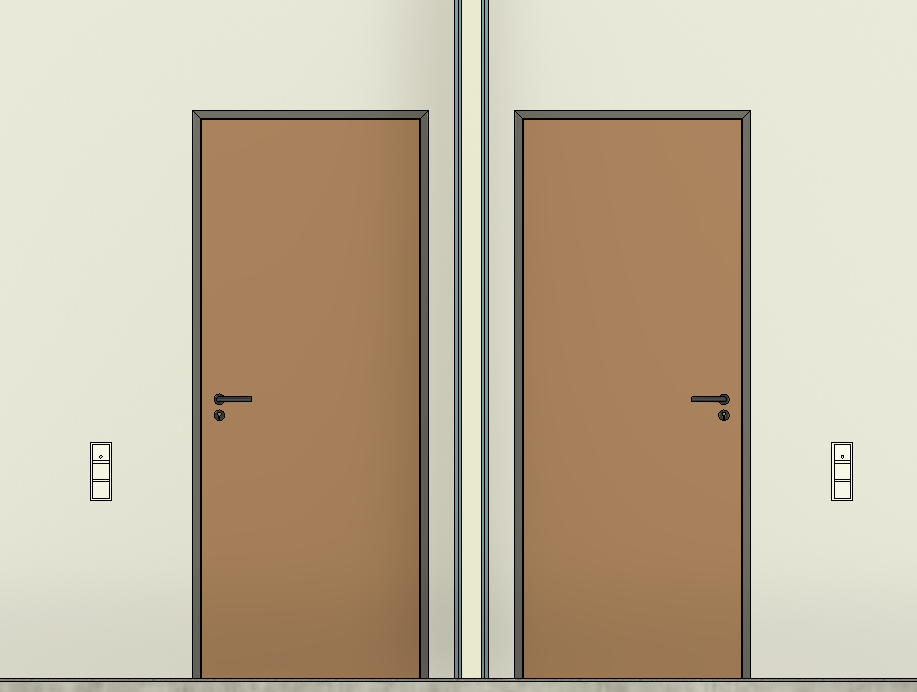
-
Specify the desired installation height of the switch frame in the Construction level / Offset (+/-) area.
The installation height refers to the vertical center of position 1 of the switch frame.
-
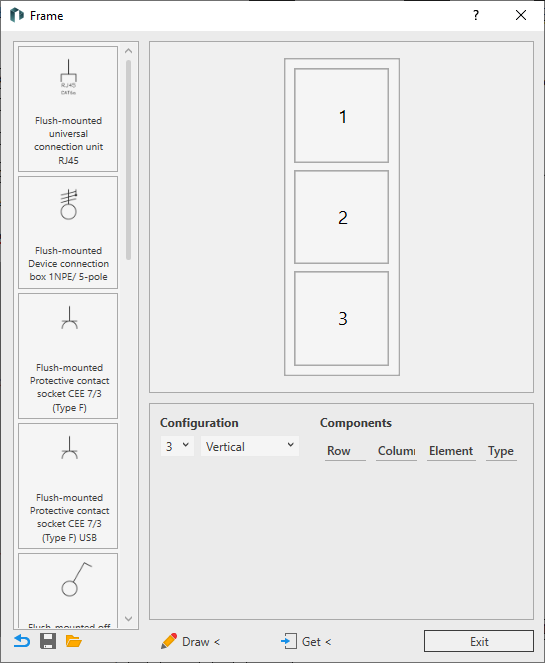
Open the configurator for switch frames in the Configurators area by clicking on Frame ....
-
Specify the number of positions and the alignment of the switch frame in the Configuration area.
-
Drag and drop the required components from the component library to their positions.
-
Check and, if necessary, change the component Type in the Components area.
-
Click Draw <.
The configured switch frame is attached to the cursor and can be placed on vertical surfaces.
-
Click to place the configured switch frame at all desired locations and end the process with ESC.