-
Select the reference level in the Construction level/ Offset (+/-) section.
-
Select the datum level. If the datum level conforms to the reference level, select Current storey.
-
Enter an offset to the datum level.
If the component is to be located below the datum level, enter a negative offset.
-
Click Discipline.
-
Open the section of the desired component group.
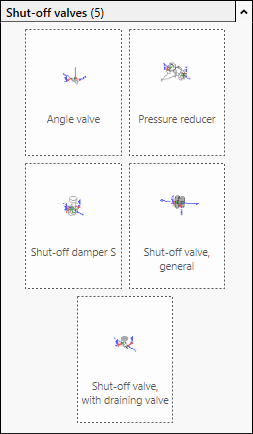
-
If you do not know exactly where to find the desired component, enter the Search term in the text field.
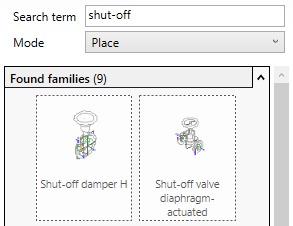
-
Select the desired inserting mode under Mode.
-
Click the component family.
If the family is not yet included in the project, it will be loaded into the project. In this case, click the component family again to insert it into the model.
The component is connected to the cursor.
-
Place the component or click on the component you want to replace.
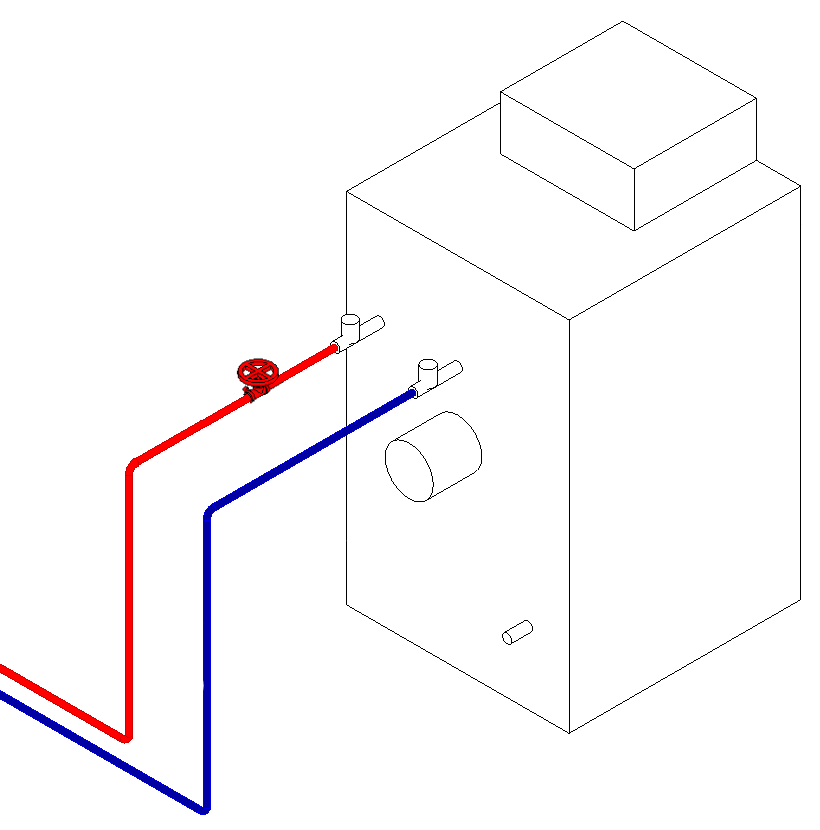
If the component is a built-in part, it can be inserted into a pipe. Use the Space bar to rotate the component.
The component is inserted.