Creating Legend for Selected Elements
Shows-step-by-step how to create a legend for selected elements.
Before you begin
You only want to create a legend for selected elements of a floor plan or section view.
Requirement:
You have opened the view in which you want to place a legend.
Navigate to:
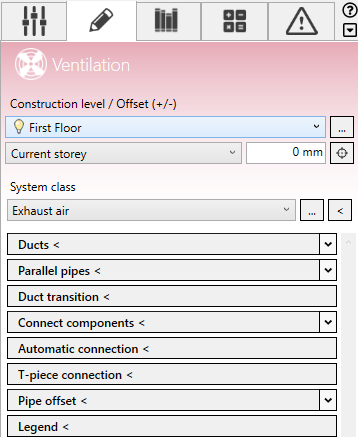
Applies to: Heating, Potable water, Waste water, Ventilation, Cooling, Gas
Procedure
- Select the elements for which you want to create a legend.
- Click Legend <.
The Legend dialog opens.
- Specify the headline, number of columns and text styles for the legend.
- In the Types section, activate the component types to be listed in the legend.
- In the System classes section, activate all system classes whose component types are to be listed in the legend.
- Switch to the Arrange and rename tab.
- Adjust the order of the elements by selecting the corresponding line and moving it with
 or
or  in the table.
 - If necessary, change the description of an element by double-clicking in the Description column.
-

- Click Refresh to update the legend preview based on the settings.
- Click Apply.
Results
The legend is created and can be placed on all relevant sheets from the Project browser.