Assigning Valves to Individual Components (Local Assignment)
Shows step-by-step how to create an additional selection of armatures in the Valves dialog, which you can assign to individual components.
Before you begin
At individual points of the pipe network you want to use valve data which deviates from the global preselection.
Requirements:
-
The valves exist in the model as components.
-
You have a manufacturer data set installed containing the appropriate valve data.
Navigate to:
Applies to: Heating, Cooling, Potable water.
Procedure
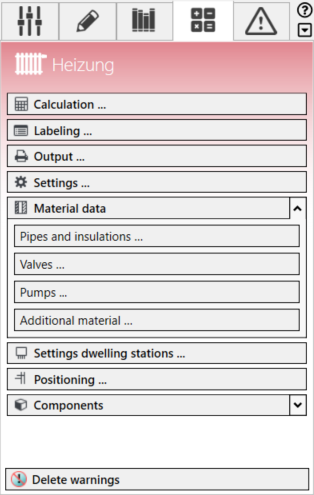
- Click Valves in the Material data section.
The Valves dialog opens.
- Open the Local assignment tab.
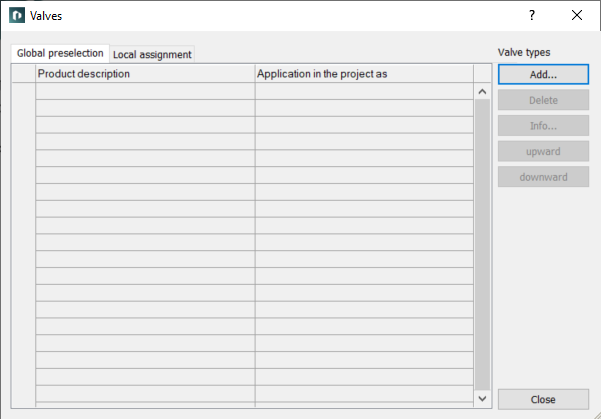
- Click Add....
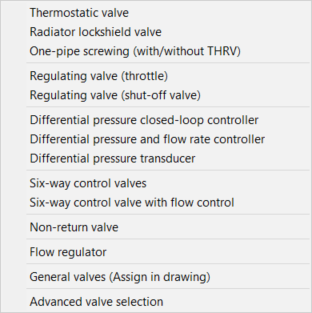
- In the context menu, select the desired valve type.
The Select valve series dialog opens.

- Select a manufacturer, a kind of valve and, if necessary, a valve type.
The matching valves are listed in the Models/Name section. The filters in the Filter versions and accessories section can be used to further narrow down the selection.
- Select a valve in the Models/Name section.
The table displays the valve data.
- If you want to exclude certain nominal diameters from being used, deactivate the Selection field in the corresponding line.
- Click Apply.
The Select valve series dialog closes and the selected valve is added to the Valves dialog.

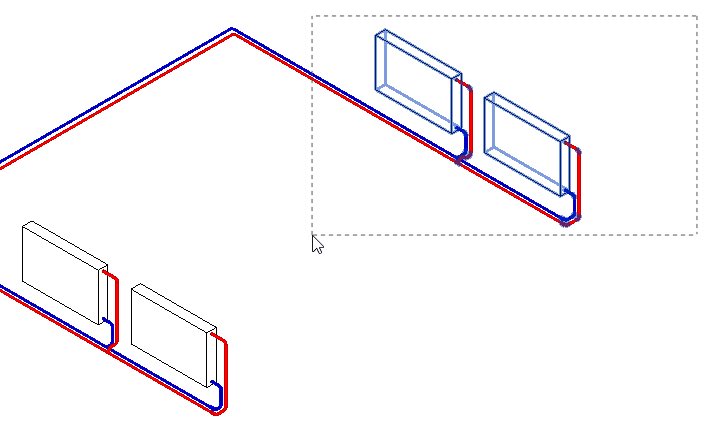
- Select the valve you want to assign in the table.
- Click Assign<.
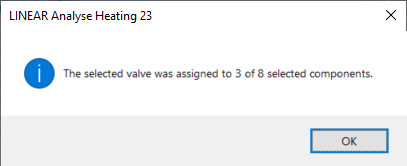
- Select the components that are to receive the selected valve and confirm with Enter.
A dialog displays how many components received the local valve assignment.
- Close the dialog with OK.
You will return to the Valve dialog.
Results
The data of the valve are assigned to the selected components.