Edit Connections of Custom Components and Add Them to Library
Shows step-by-step how to assign the desired properties to connections of components that are not available in the LINEAR libraries and how to add the components to the LINEAR library.
Before you begin
You have added connections to a customer component and would like to assign them the desired properties and add them to the LINEAR library.
Requirements:
The drawing of the component with the self-generated connections is open.
Navigate to:
Procedure
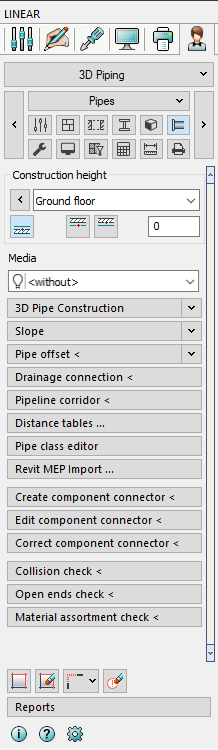
- Click Edit component connector < and then click a connector. The Edit LINEAR connector definitions dialog opens.
- Define to which trade the selected connector belongs.
- Select the connection type. Tip: You can also define the connector in this area as a pure switch point.
- Select the connection type.
- Set the parameters of the Measures / Dimensions, Insertion switch point and Calculation type areas as desired and exit the dialog by clicking OK. Note: If you do not find the desired Connection type in the connector type area, you can specify a user-defined connector type in the System connection area.
- Navigate to and click User components Piping. The Component dialog opens.
- Double-click Save compilation to start detecting the component and follow the instructions of the command.
- Enter a name for the component and save the component in the desired directory. Tip: If you have several user-defined components, it is a good idea to create appropriately named subfolders. The folders are displayed as sorting level in the Components dialog.
- In the following query, decide whether the component should be considered as a new item when it is reinstalled or whether it should be broken down into individual items again.
Results
The new component is available with the defined connections in the Components dialog and can be installed or drawn in.
Note: To make the component available for a calculation as well, you can classify it accordingly after placement or installation via .