-
Select the reference level in the Construction Level/ Offset (+/-) section.
-
Select the datum level. If the datum level conforms to the reference level, select Current Storey.
-
Enter an offset to the datum level.
If the component is to be located below the datum level, enter a negative offset.
-
Select the System class.
-
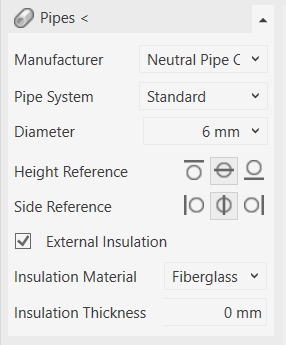
Open the Pipes section.
-
Select the manufacturer and the pipe system.
-
Select the diameter.
-
Select the height reference of the pipes: Top, center or bottom.
-
Select the orientation of the pipes: left edge, center, right edge.
-
Activate the External Insulation option.
The drop-down lists for Insulation material and Insulation Thickness are displayed.
-
Use the fields Insulation Material and Insulation Thickness to configure the insulation for the pipe to be designed.
-
Click Pipes <.
-
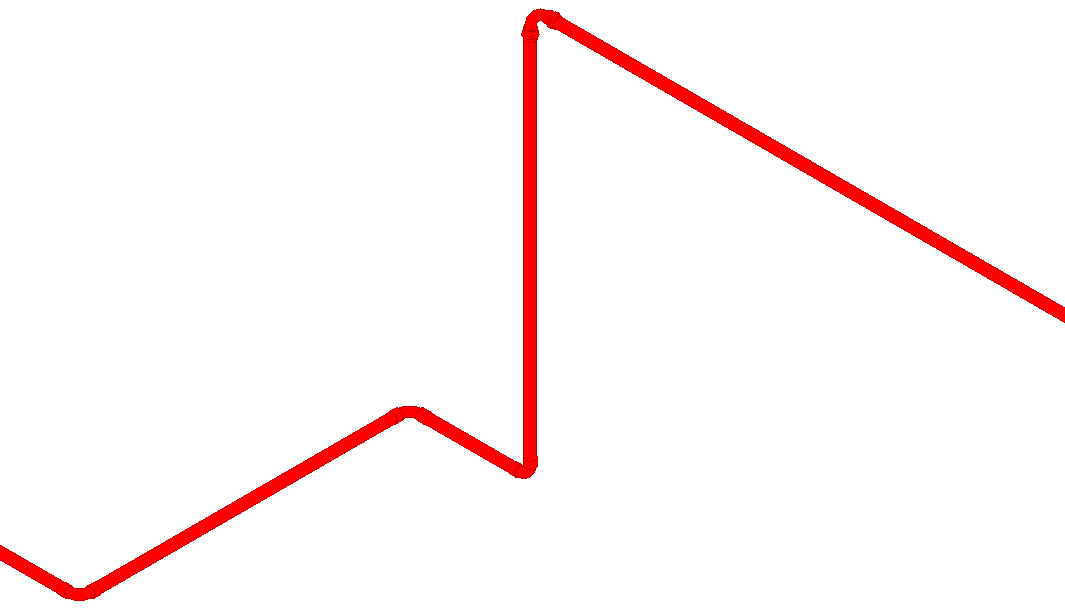
Construct the course of the pipes.
If you want to create vertical ducts during construction, enter the desired height in the Offset field in the Revit option bar.
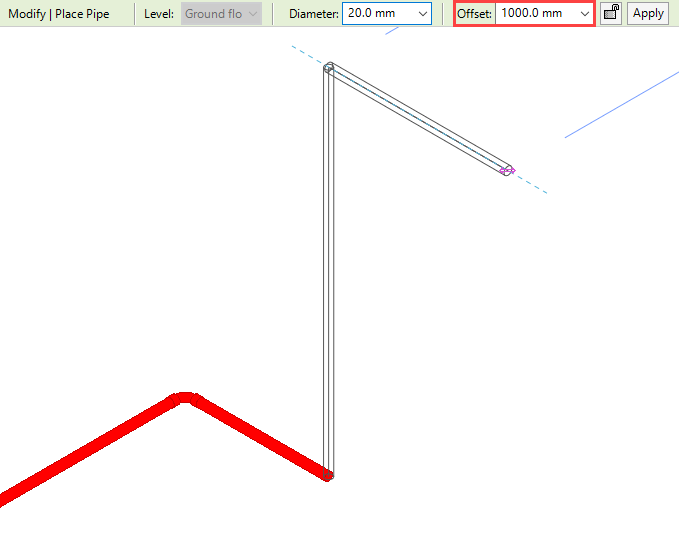
The pipes are constructed with the selected system class and material.