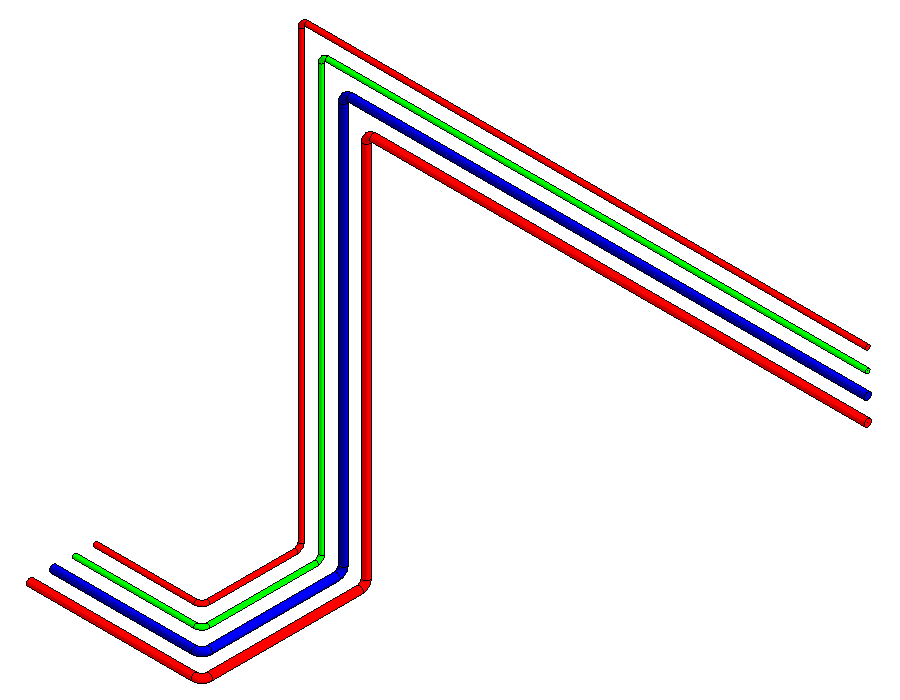
-
Open the Parallel pipes section.
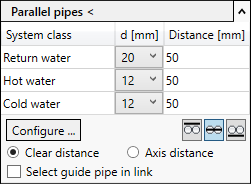
The last created configuration of parallel pipes is displayed.
If you want to change the configuration of the parallel pipes, click Configure... and make the desired changes.
-
In the Parallel pipes section determine the reference edge of the pipes among each other (top edge, pipe axis, bottom edge).
-
Decide whether the specified pipe distances should refer to the clear distance or to the axis distance.
-
If the pipe run to which the parallel pipes are to be added is in a link, activate the Select guide pipe in link check box.
-
Click Parallel pipes <.
-
Select the pipe run to which you want to add the parallel pipes and confirm by pressing Enter.
Different variants for the situation are shown.

-
Select the required variant using
 and confirm with Apply.
The parallel pipes are added to the pipe run.