Defining Component Connections
Shows step-by-step how to define connection types for components.
Before you begin
You want to specify the connection type for a component so that the parts list includes the additional connection material.
Requirement:
The pipe network is detected.
Navigate to:
Applies to: Heating, Cooling and Potable water.
Procedure
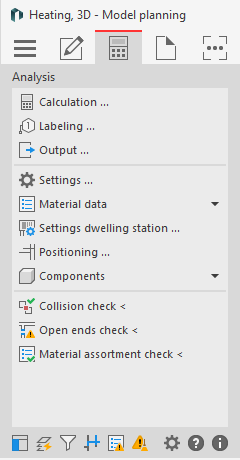
- Open the Components section.
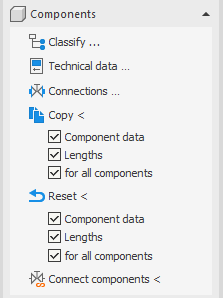
- Click Connections ....
- Select the component, whose connections you want to set.
The Connections at this component dialog opens.

- If you want to assign the same type of connection to all connections, activate the All connections at the component are the same check box. Note: For components with only one connection, the checkbox is deactivated and steps 4 and 5 are omitted.
- If you want to assign different connection types to the individual connections of the component, deactivate the All connections on this component are the same checkbox. A separate tab is displayed for each connection to define the individual connections separately.Tip: For better orientation, the connected line of the connection currently selected in the dialog is highlighted in the drawing.
- Select the desired manufacturer from the corresponding drop-down list.
- Select the desired Type of connection on the component from the corresponding drop-down list. The available nominal widths of the selected connection type appear in the lower window of the dialog.
- Mow select the desired nominal diameter for the connection.
- If necessary, repeat steps 6 to 8 to define the remaining connections of the component.
- Close the dialog with OK.
Results
You have set the connections of the component and the corresponding connection material is displayed in the component list.