Adjusting Nominal Diameters
Shows step-by-step how to transfer the calculated nominal diameters to the constructed pipes or ducts in the model.
Before you begin
You want to transfer the calculated nominal diameters to the constructed pipes or ducts in the model.
Requirements:
-
The pipe or duct network is calculated.
-
No more changes are made that affect the nominal diameters.
Navigate to:
Applies to: Heating, Potable water, Waste water, Ventilation, Cooling, Gas.
Procedure
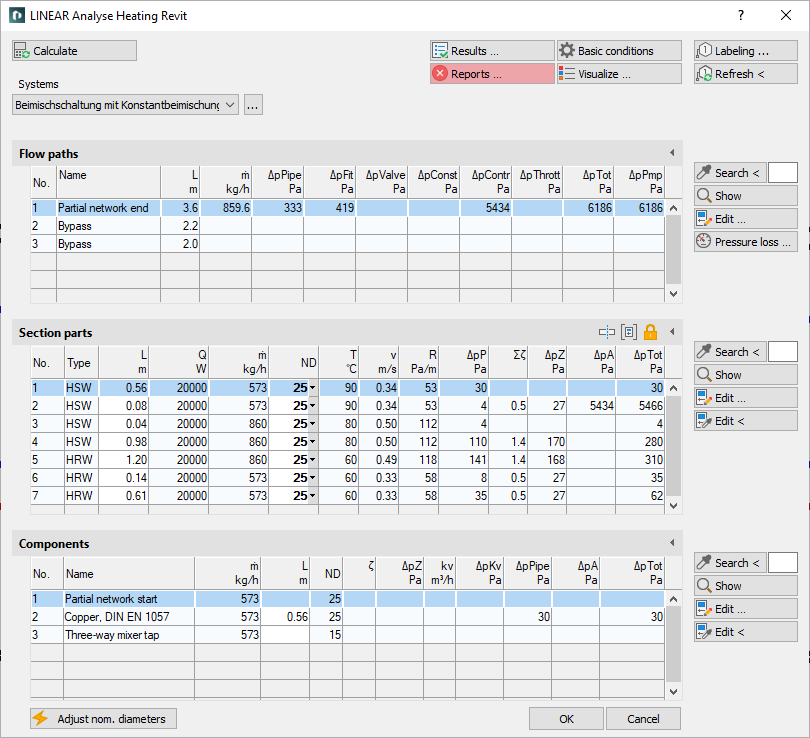
- Click Adjust nom. diameters.
The following context menu opens.
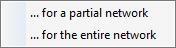
- Select if the adjustment should be performed for the entire network or for a partial network.
A note indicates that the modification of nominal diameters can lead to post-editing the pipe network.
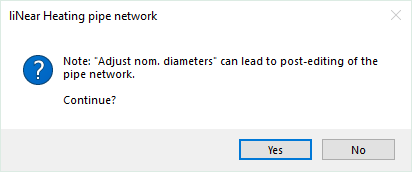
- Click Yes and, in the case of adjustment for a partial network, follow the displayed instructions.
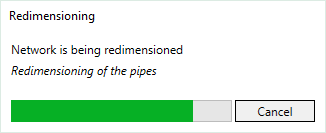
The adjustment of the nominal diameters is started. The duration of this process depends on the project size.
Results
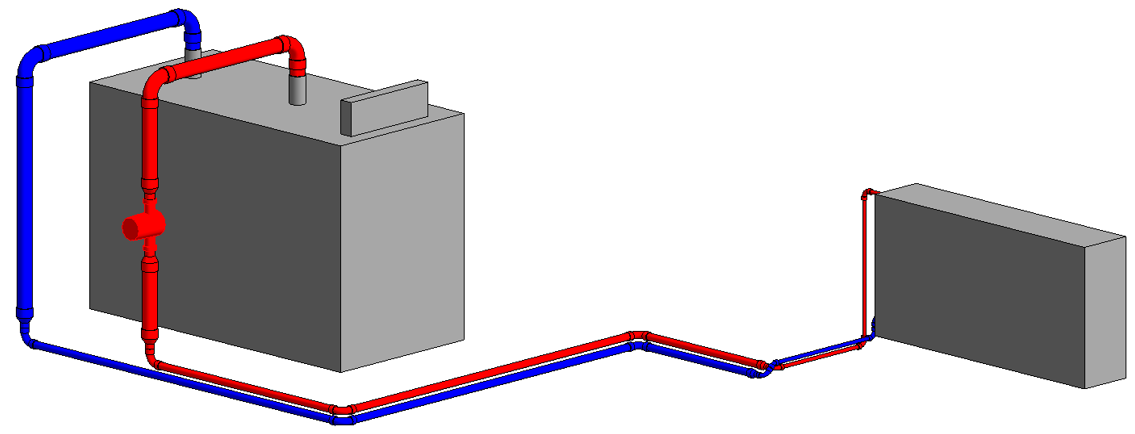
The nominal diameters are transfered to the model. If errors occurred during the nominal diameter adjustment, check the reports in the Issues and Tasks tab.