-
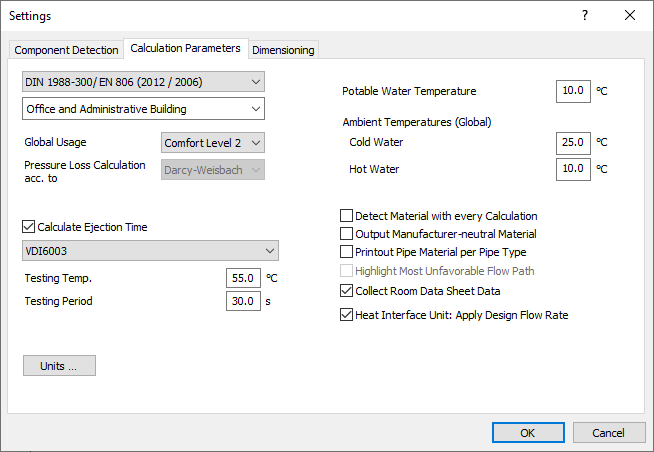
Click Settings.
The Settings dialog opens.
-
Activate the checkbox Collect Room Data Sheet Data and close the dialog with OK.
-
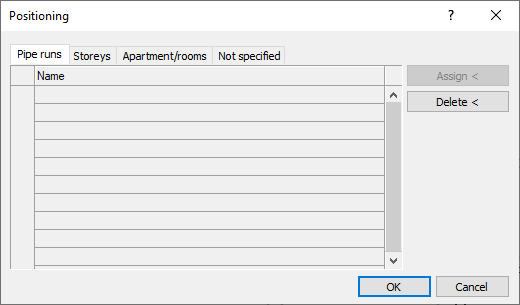
Click Positioning.
The Positioning dialog opens.
-
Select the Apartment/rooms tab.
-
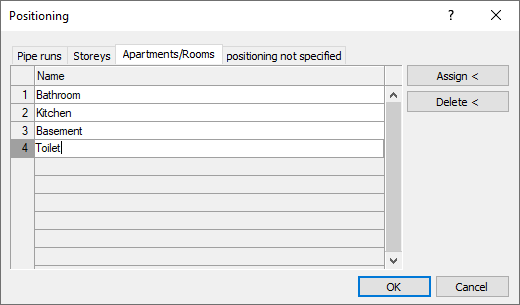
Click a free line in the table to create a new room definition.
-
Enter a name.
-
Repeat steps 5 and 6 until all desired rooms are created.
-
Highlight the row whose room definition is to be assigned to tapping points.
-
Click Assign<.
-
Select the tapping point belonging to the selected room and confirm with Enter.
-
Repeat the process for all remaining rooms.
The room definition is assigned to tapping points.
-
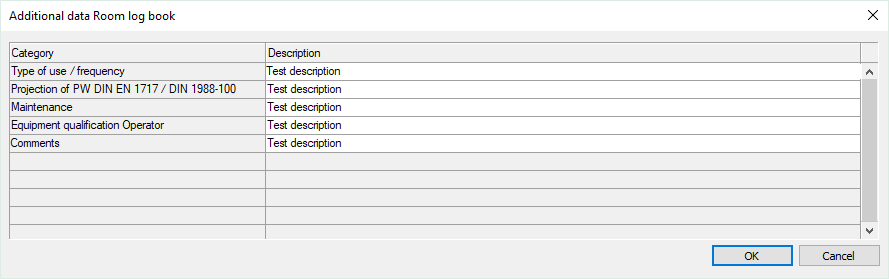
Select a row for room definition and click Edit room log book.
The Additional data Room log book dialog for the selected room opens.
-
Enter additional information for this room in the column Description and confirm by clicking OK.
-
Close the dialog Positioning with OK.
-
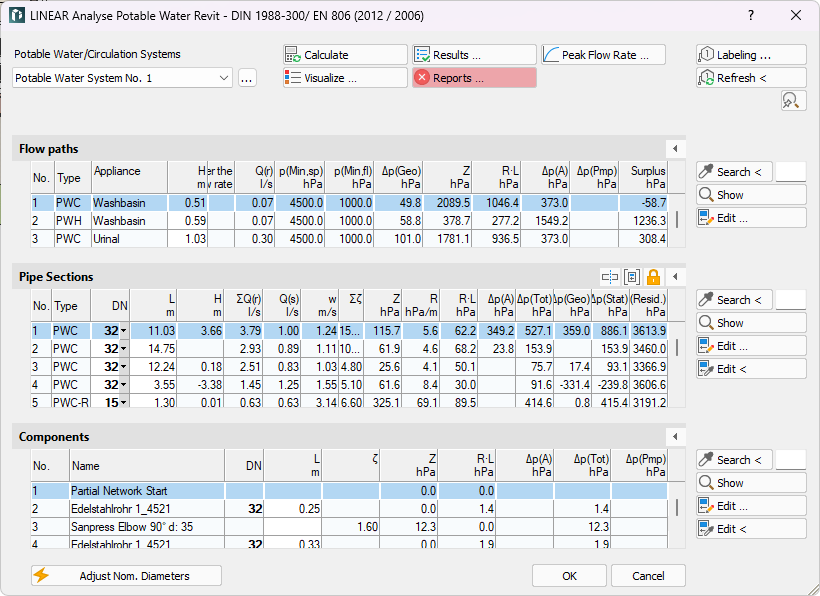
Click on Calculation to recalculate the potable water pipe network.
When asked, whether new components have been added to the network, click No, since the pipe network does not need to be detected again.
The Potable Water Network dialog opens.
-
Close the calculation dialog with OK.
-
Click on Output.
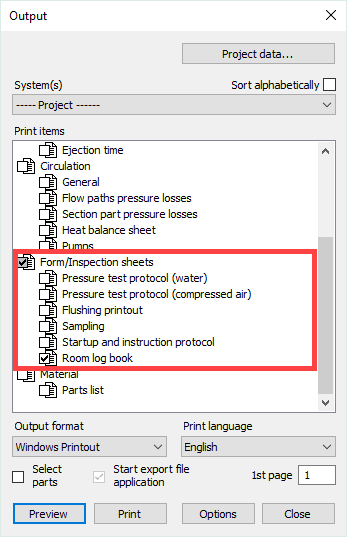
The Output dialog opens.
-
Under Form/Inspection sheets, activate the checkbox Room log book.
-
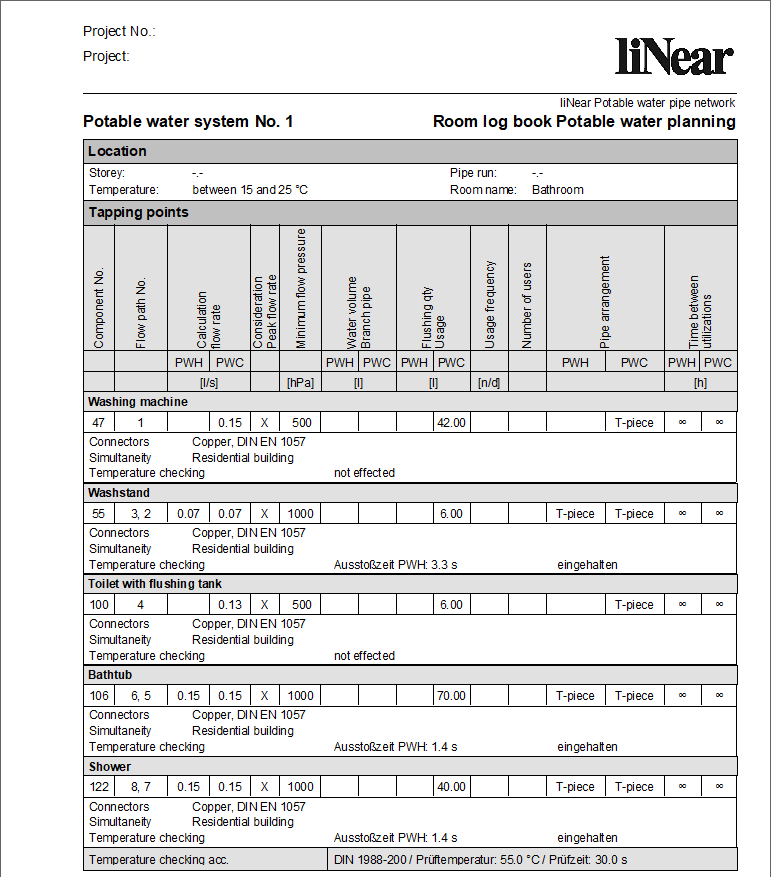
Click on Preview or Print.
The room log book is created and can be printed.