Drawing in a Panel Heating/Cooling out of Building
Shows step-by-step how to insert a plane heating/cooling laid out in LINEAR Building into your AutoCAD drawing.
Before you begin
You would like to insert panel heating/cooling circuits into your AutoCAD drawing.
Requirements:
They designed panel heating/cooling circuits in LINEAR Building.
Navigate to:

Procedure
- In the building structure, select the room that contains the panel heating/cooling circuit to be drawn.
- Press the F10 key or click the Draw
 button on the toolbar. The program window of LINEAR Building minimizes and the AutoCAD program window becomes active. The query appears whether the total detected area of the room should be used.
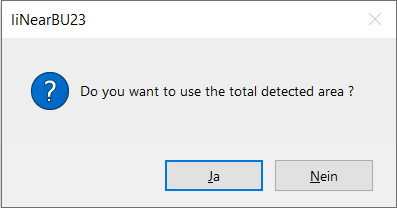
- Confirm the query with Yes or No. Note: If you answer the query with No, you have to draw a laying area inside the room first.
- Set a top view of the desired room in AutoCAD.
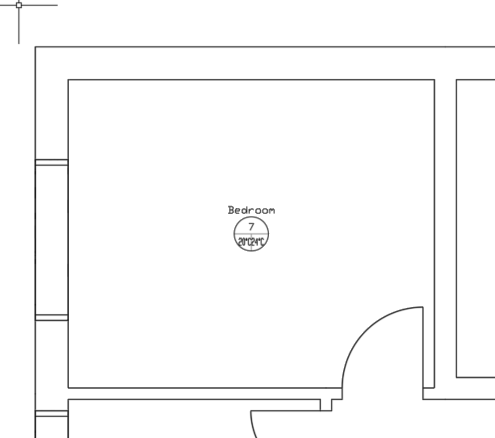
- Click into the laying area to activate the cursor.
- Within the laying area, click a point to specify the laying direction. For example, if you click near the door, the panel heating/cooling circuit with supply and return connections will be installed in that direction. Note: You can always modify the installation direction and the position of the supply and return water after placing the panel heating/cooling circuit.
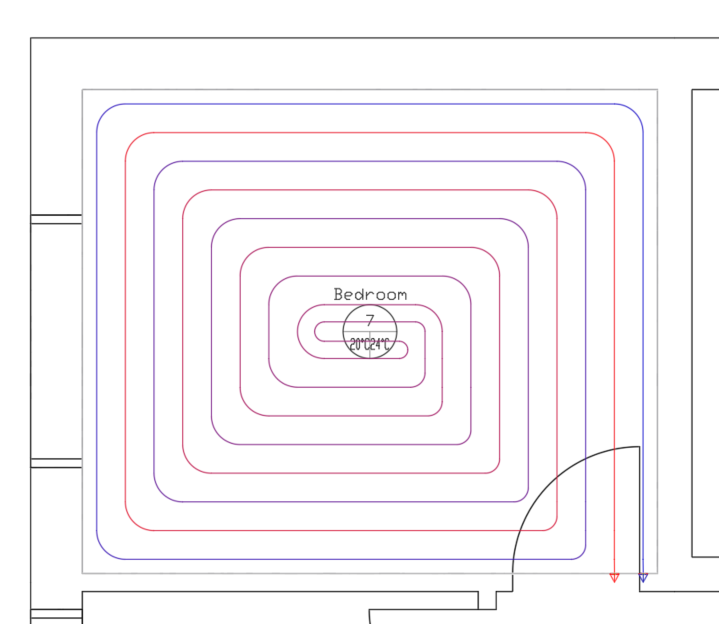
- The LINEAR Building program window becomes active again. The installed panel heating/cooling circuit is highlighted in blue and thus marked as installed.
Results
You have drawn the panel heating/cooling circuit out of LINEAR Building in your AutoCAD drawing.