Export Element List
Shows step-by-step how to export the elements of an element class to an Excel file.
Before you begin
You have created an element class that displays selected properties of certain elements of the model in one or more property sets. You want to export an overview of these elements with their properties to an Excel file.
Requirements:
You have created the required property sets.
Navigate to
Applies to all disciplines.
Procedure
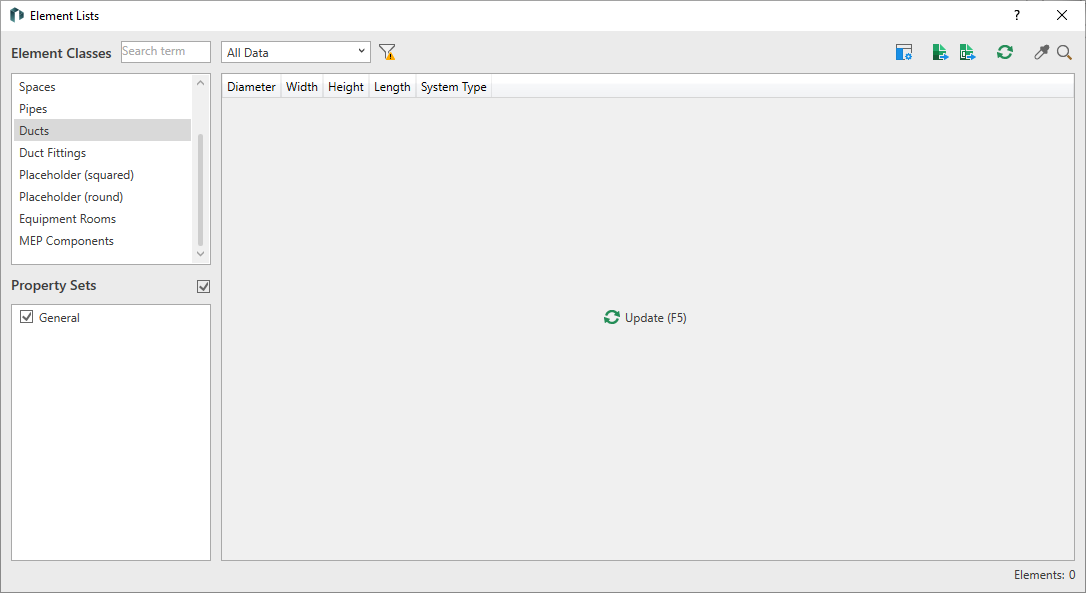
- Select the desired element class.
- Activate the desired Property Sets.
- Click on Update (F5) in the table area. The required data is extracted from the model and displayed. Depending on the size of the project and the number of elements, this process can take several seconds.
- Click on
 Show only faulty elements if you want an overview of faulty elements.
 - Click on
 Export Active Element List. If the active element list contains faulty elements, you can decide in the following query whether you only want to export faulty elements or all elements, with or without error messages. The file explorer opens.
 - Save the file with a suitable file name in the desired directory.
Results
The selected property sets are exported to an Excel file. An export confirmation appears immediately after the export. Click on the confirmation to open the exported file.