Pre-dimensioning a Pipeline Corridor
Shows step by step how to assign the planned pipes to a pipeline corridor and how to make a rough dimensioning.
Before you begin
You constructed a pipeline corridor with estimated space requirements and would like to assign and roughly dimension the planned pipes to the pipeline corridor.
Requirements:
You constructed a pipeline corridor with estimated space requirements.
Navigate to:
Procedure
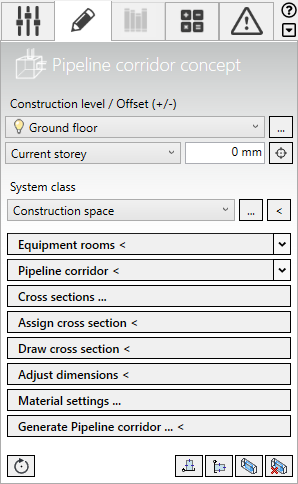
- Click Cross sections ....
The Cross sections dialog opens.
- Click
 .
. The Cross section dialog opens.
- Enter a name for the new cross section.
- Add all required pipes to the palette by clicking .
The pipes are added to the palette.
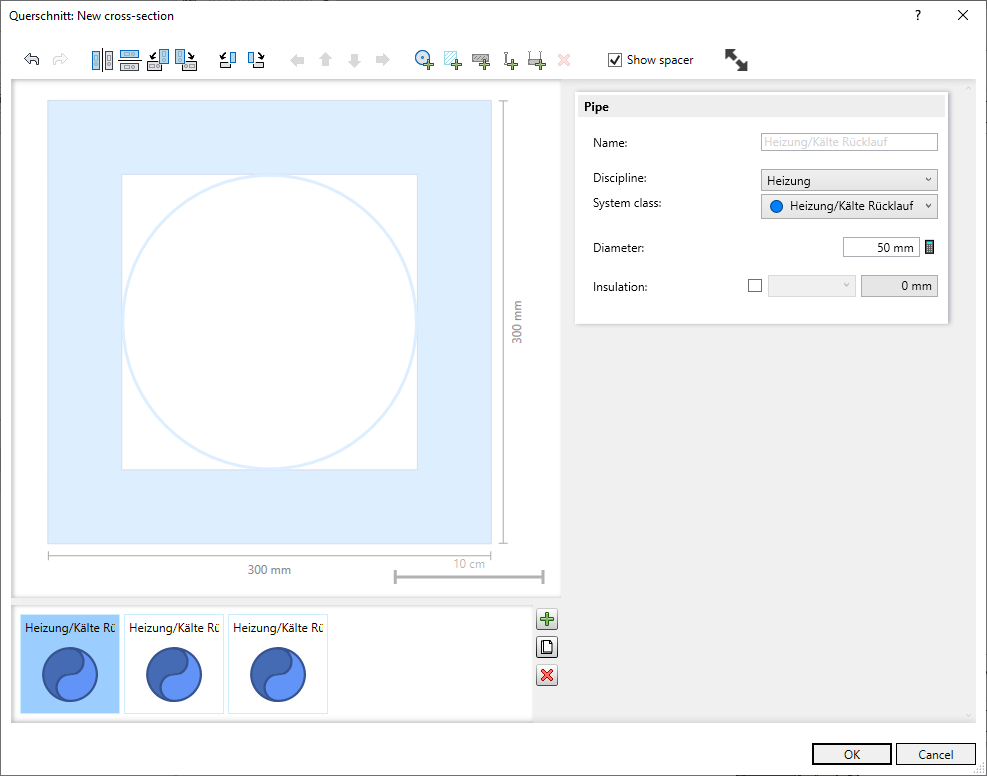
- Select the individual pipes and define Discipline and System class. Then click on OK and Apply.
- In the Construction tab, click Assign cross section.
- Assign the newly created cross section to the desired pipeline corridors.
- Select a segment of the pipeline corridor and adjust the dimensions of the pipes in the LINEAR Properties.
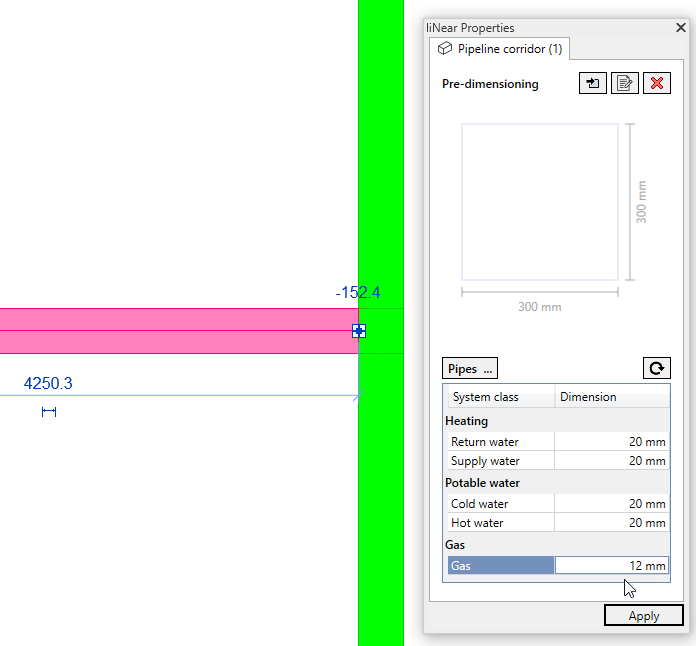
- Repeat the adjustment of dimensions for all segments of the pipeline corridor.
Results
All planned pipes are assigned to the pipeline corridor. The pipes are provided with the expected dimensions in all segments of the pipeline corridor.